




Gelly Review: We Tried These Viral At-Home Gel Nail Wraps — Here’s How It Went


As I’m typing this, I can’t stop looking at my fingers gliding over the keyboard. Each nail is glossed to perfection in a rainbow of pastel tones. And the best part: I did them all by myself!
I’ve always been tempted to dabble in the trend of at-home gel manicures but my nail painting skills leave a lot to be desired. Because, let’s be honest: Painting your nails at home can be a challenge. Even though I do love the self-care ritual of an at-home manicure, I lack the experience and precision of a professional nail artist when it comes to painting my nails. I love the convenience of press-ons for gorgeous designs with zero dry time, but I struggle to keep them on for more than a few days. That’s where Gelly’s gel nail wrap strips come in. With this no-fuss kit it’s never been easier to get glossy, salon-quality gel nails at home.
Don’t get me wrong, I love going to the nail salon when I have the time and money to do so. Unfortunately, that isn’t always the case, so I’ll often opt for an at-home manicure instead of the pricey, professional gel set. Plus, a salon gel manicure means making time for that dreaded follow-up appointment to remove it all and start again. At least when I do my nails at home everything is in my own hands.
Which is why I’ve been very intrigued by the gel wrap manicure kits I’ve seen all over Instagram. Gelly caught my eye with its gel nail wrap strip kits that seemed almost too good to be true. I reneged on placing an order, unconvinced I possessed the skills to ‘nail’ the seemingly easy application process. But, when the opportunity came up to review a Gelly kit for our beauty section I jumped at the opportunity to finally give it a go.
The Gelly Gel Nail Strip Starter Kits comes with everything you need to accomplish an at-home gel manicure. Gelly offers the option to choose the gel nail wrap system that works best for you. Explore the Gelly UV Free Gel Nail Wrap Kit for a simple, lamp-free application experience, or choose from the range of Semi-Cured Gel Nail Wrap Kits for longer-lasting wear and additional tools. Each kit is designed to help you get started quickly, with carefully selected accessories and everything you need for beautiful gel nails at home.
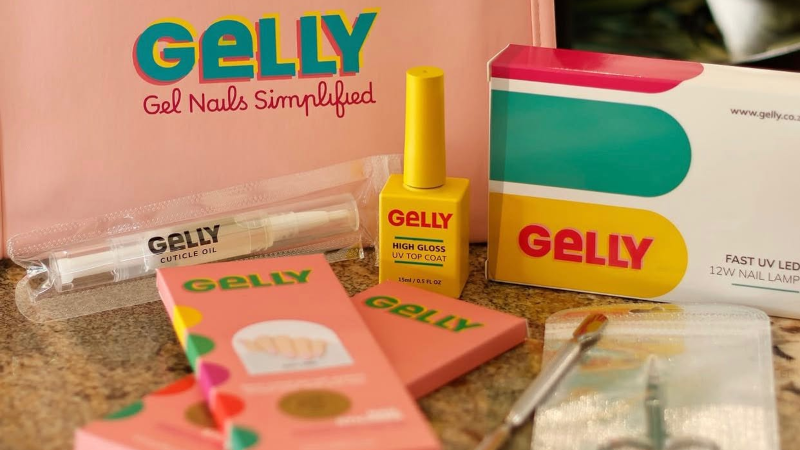
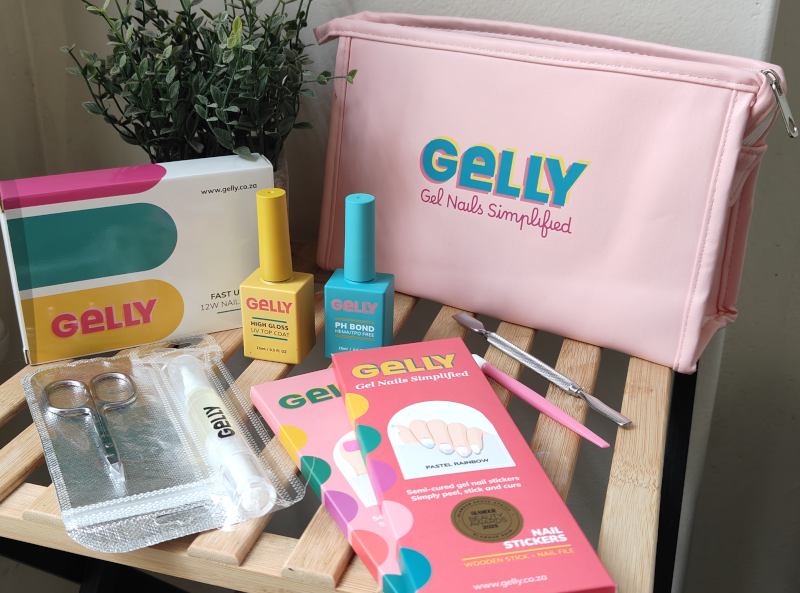
Gelly sent me the Semi-Cured Wraps Ultimate Kit to try. The premium, all-inclusive set is designed for gel manicure or pedicure perfection. Whether you’re a nail enthusiast or a beginner, this kit provides everything you need for a flawless at-home salon experience, including quality nail tools, treatments, and customisable gel nail strip options. You can complete your kit by adding any two Gelly Premium Semi-Cured Gel Nail Strips to start your Gelly journey.
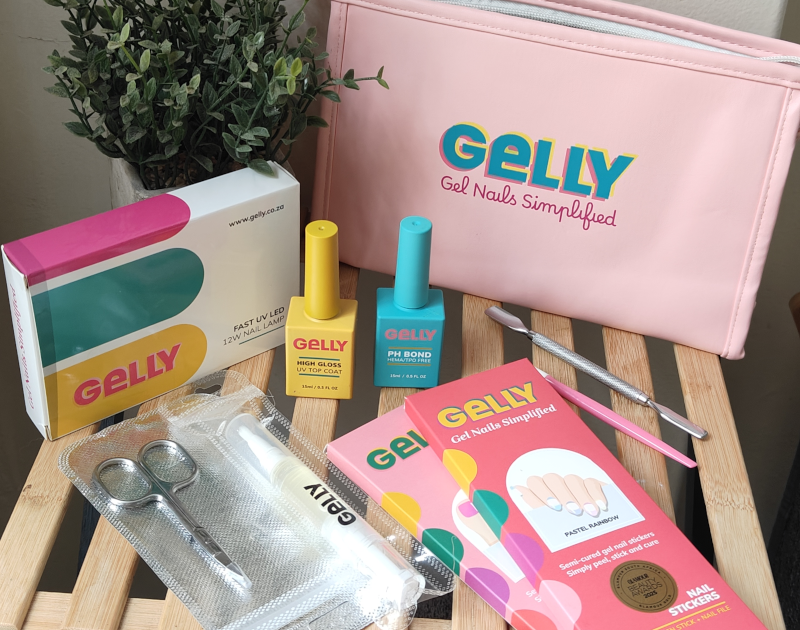
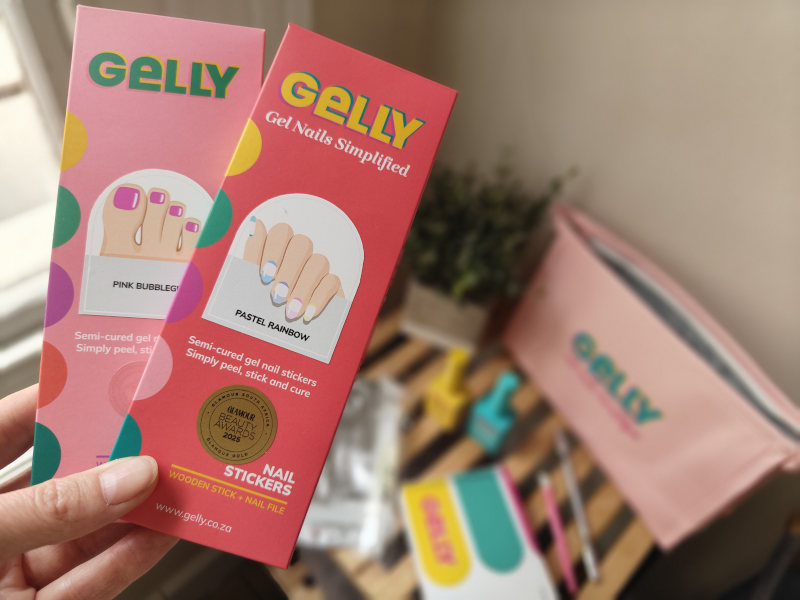
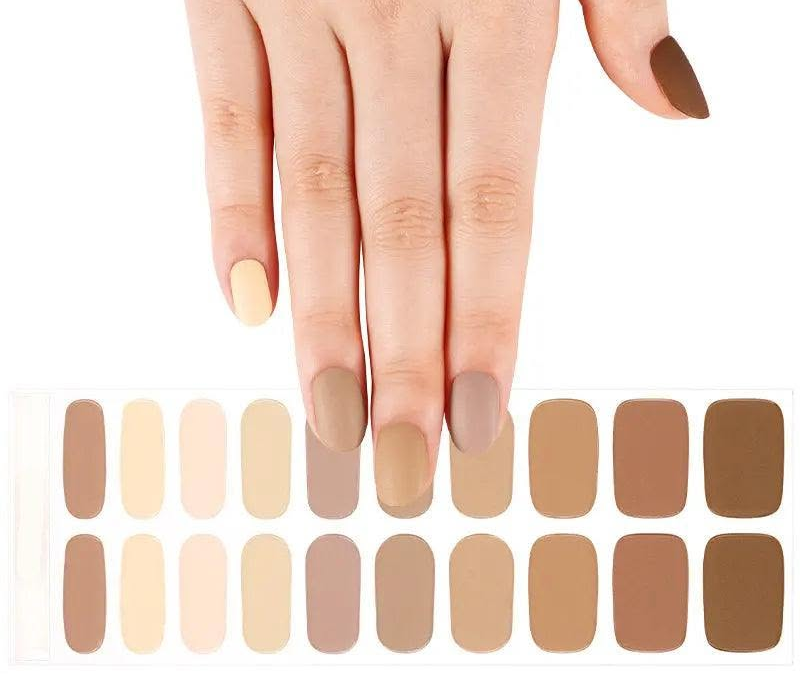
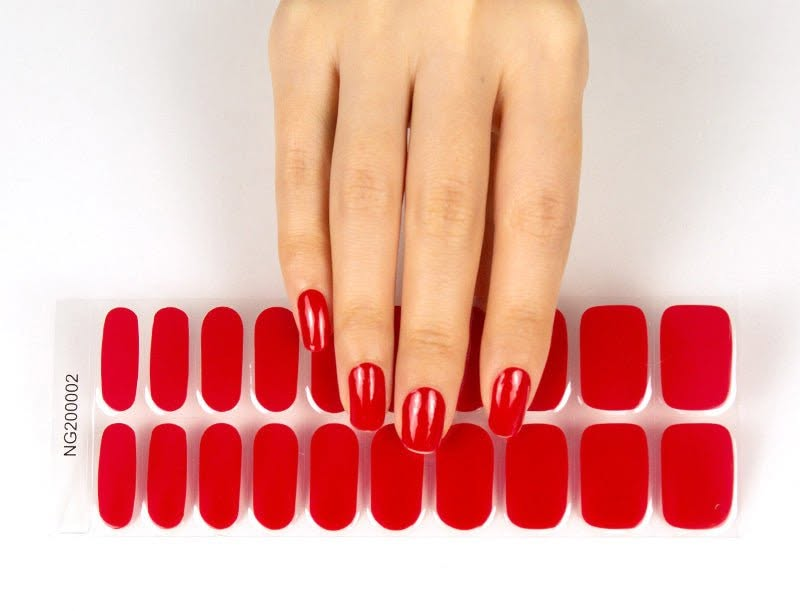
Gelly offers a wide variety of solid and nail art designs (including ones for your toes), plus seasonal options for the holidays, Valentine’s Day, and more. Each pack comes with 20 gel strips in various sizes, a mini nail file, a wooden cuticle stick, and 2 alcohol prep pads. I was able to get two manicures out of one box before running out of sizes that fit my nails.
Using the Gelly kit for the first time was so much easier than I was expecting, and honestly it’s a helluva lot easier than painting your own nails. While certain tools (and a lot of practice) can make it easier to paint with your non-dominant hand, it’s all too easy to accidentally smudge polish outside the lines. Wrapping your nails in a sticker gives you a perfect-looking faux manicure in just a few minutes. These nail wraps are perfect for at-home DIY manicures. They are already dry and ‘cured,’ so there’s no chance of messing up a nail if you need to answer a phone call or get interrupted mid application. You can pause the application process at any point without compromising the results, which is impossible with other nail coatings.
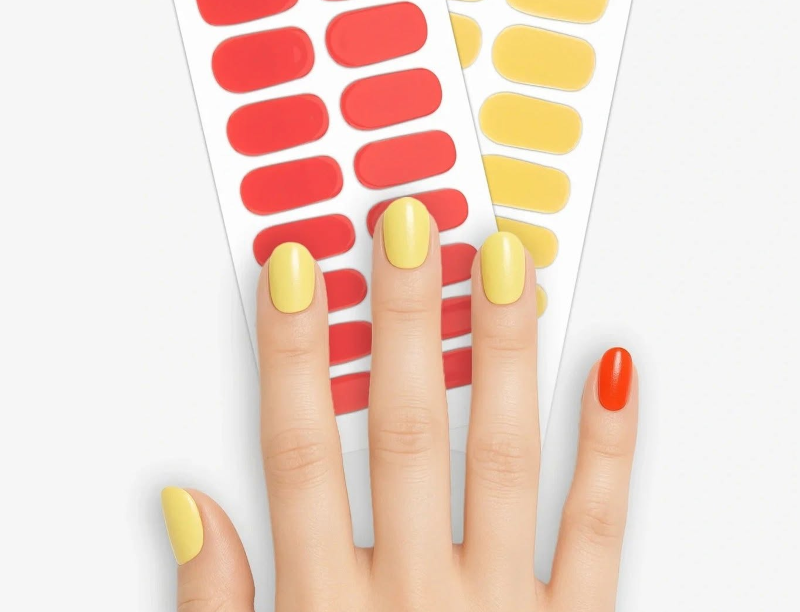
Thanks to detailed instructions included on the nail strips, I wasn’t intimidated at all getting started. I set up all the tools in front of me, plugged in the LED lamp, and got to work. First, I filed the edges of my nails. Then, I used an alcohol wipe to clean any remaining dust or oil that could affect the final result. After that, I reached for the gel wraps and applied nail by nail.
Per the instructions, I chose the right size sticker for each nail, then applied PH Bond Nail Primer to each nail. The Primer is designed to prep your natural nail by balancing its surface, gently dehydrating the nail plate, and improving adhesion for your Gelly nail wraps. It helps remove excess oils and moisture, creating a clean, dry base that supports longer-lasting wear without aggressive etching. A thin layer is all you need before applying your nail stickers. It does not build thickness or act as glue. It simply creates the right surface for adhesion. Simply apply a small amount to your natural nail after prep and allow it to air dry for a few seconds until the surface appears dry and matte.
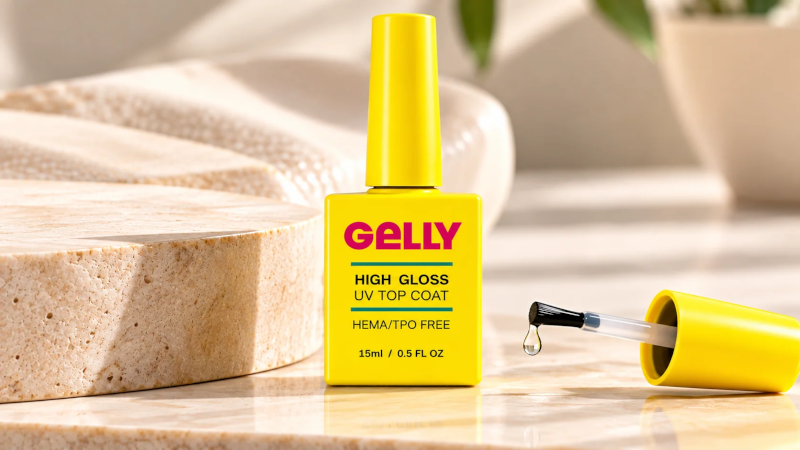
I followed the PH Bond Nail Primer with a thin layer of Gelly High Gloss UV Top Coat on one nail before applying a nail sticker and curing it under the LED lamp for 60 seconds. Then I moved on to the next nail. The high gloss top coat is designed to provide a smooth, durable, and glossy finish to your Gelly nail stickers. It has a strengthening and self-leveling effect and a little goes a long way in keeping your nails tip top for longer when applied as the final step in your nail application process.
Using the Gelly kit was such a simple process. It only took me about 30 minutes to complete from start to finish. I loved how shiny my nails looked after application, the result is definitely nail-salon worthy! I had so many compliments wearing these gel strips, most people couldn’t believe I’d done my nails myself. With an affordable price and professional look, there’s no reason you shouldn’t try them. I got a solid 10 days of wear out of my nail kit and the pedicure kit is still going strong more than 2 weeks later.


And the best part? You can easily remove it at home yourself! Say good-bye to that in-salon soak off appointment and spend more time and money on a fresh set of gel nails each time.
The removal process is so simple too. To remove the wraps you simply loosen the stickers by gently lifting the edges of the strip to create small gaps. Use the wooden stick to work in a few drops of cuticle oil (or polish remover). Then, lift the sticker by gently sliding the wooden stick back and forth to work in more oil. As the glue softens, the strip will lift without pulling or scraping. Once the sticker is off, wipe each nail with the included alcohol pad to remove any leftover adhesive. This leaves your nails fresh and ready for your next set. And that’s it. Your gel nail strips are off. Gelly suggests letting your nails rest a few days before applying your next set.
I love that the application and removal process doesn’t leave your nails feeling brittle. You don’t have to buff down your nails as you normally would when getting a traditional gel manicure which can hamper growth and cause your nails to become brittle over time.
Is the Gelly nail wrap system for you?
If you love having your nails done but can’t justify the cost and time involved then this system is definitely a compelling option. Once you have the starter kit, it’s just R209 for each pack of nail wrap stickers (roughly two manicures per box), which is incredible value when compared to your average cost of a gel manicure today. If you’re confident enough to file and shape your own nails at home then there’s no reason you won’t love this system.
Plus, Gelly offers the UV-Free nail wraps for those who would prefer a simpler system. The UV wraps are R205 per box of 20 wraps. With this system, there’s no need to invest in a starter kit, giving you more money to spend on nail wraps!
The Gelly UV-free gel nail wraps are a quick, mess-free way to get a glossy gel look at home, with no UV lamp, drying time, or nail polish needed. Each wrap comes ready to apply and wears like a flexible gel layer that moulds comfortably to your nails. With proper prep and aftercare, they can last around 10–14 days.
Shop the Gelly starter kits and nail wraps online here.


You must be logged in to post a comment.